

【AZ-900】How to create an Azure free account and what to look for
Hi, I’m Makoto, a freelance engineer.
To take the AZ-900 exam, you will need a Microsoft Account. As the name suggests, this is an account that is required to use various Microsoft services and is a user ID for individuals.
You can create a Microsoft account on your own, but most candidates will probably be thinking about trying out Azure in the future. Azure has a trial plan called an Azure free account, and you can create a Microsoft account when you create a free account.
This article explains the process of creating a free account (and a Microsoft account). Please read to the end, as we will also introduce some things to be aware of when using a free account.
What is the Azure free account?
What you can do with a free account
A free account is a program (contract) that allows you to use Azure for free during your trial period. For more information, see the Azure Free Account FAQ.
- The trial period is up to 30 days
- You will receive a $200 credit
- You can use some services for free for 12 months
The $200 credit is consumed when you use paid Azure services. The trial period ends under any of the following conditions:
- When 30 days have passed
- When you use up your $200 credit
So either you use up your credit and the 30 days are up, or you use a lot of paid services within the 30 days and your credit goes to 0.
After the trial period is over, you can resume using the service by upgrading to a pay-as-you-go plan (of course, you will only be charged for what you use).
Please be assured that you will not be automatically upgraded or charged after 30 days. If you leave your account without upgrading, your free account and any Azure resources you have created will be deleted after a certain period of time.
How to get the 12-month free offer

It’s a little confusing, but it means that there are Azure services that are free for 12 months, including the trial period, and that this benefit can continue if you upgrade from a free account to a pay-as-you-go plan.
Conversely, if you immediately sign up for a pay-as-you-go plan, you will not receive the benefit of 12 months free. This benefit is only available if you upgrade from a free account.
How do I get free services?
When you create your Azure account, you start getting monthly free amounts of certain types of services. Some are always free to all Azure customers, and some are free to new customers until 12 months after you created your account. If you sign up for an Azure free account, you’ll need to move to pay-as-you-go pricing within 30 days or after you’ve used your credit (whichever happens first) to continue to receive free services.
Source: Azure free account FAQ
More specifically, there are two patterns of Azure services that you can use for free.
- Always free for everyone
- Free for 12 months (when you upgrade from a free account)
For more details, see the List of Free Services in the FAQ. Please note that 12 months of free service is only available for some services.
Notes:
Please note that if you do not upgrade from a free account to a pay-as-you-go account and later sign up for a new pay-as-you-go contract, you will not receive the 12-month free benefit.
What you need to create a free account
To create a free account, you will need the following three things.
- Microsoft account
- Credit card
- Phone number
You must register a credit card, even if you plan to use it only in the free area. You must provide a phone number so that we can verify your identity via SMS or phone call.
How to create a free account
You can create a free account on the Microsoft Azure page. Please note that some screenshots are in Japanese and were taken in the past, so there may be some differences from the actual screens. (I think the overall flow is mostly the same).
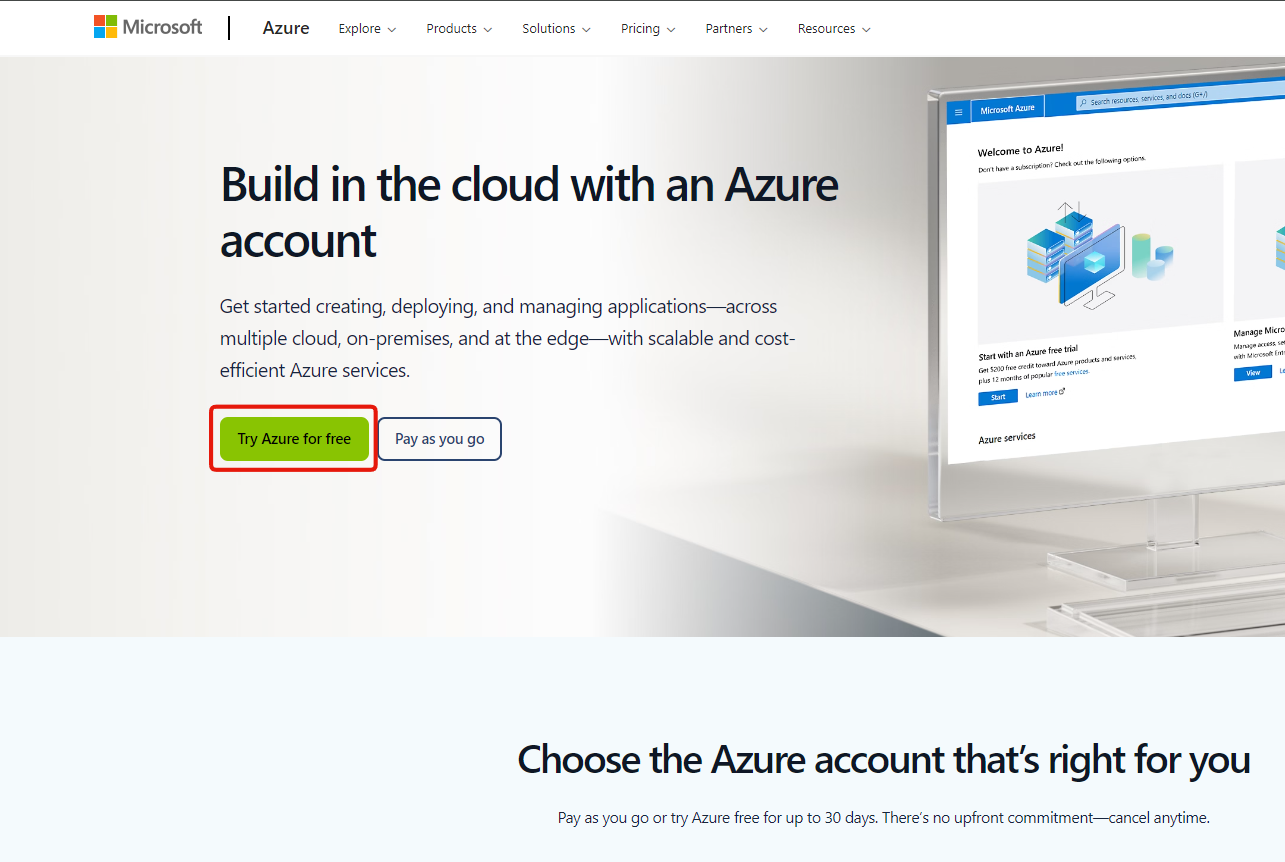
First, click the “Get started with Azure” button.

You can start your registration by clicking on the “Try Azure for free” button.
The sign-in screen will appear, so click “Create one” to create a Microsoft account.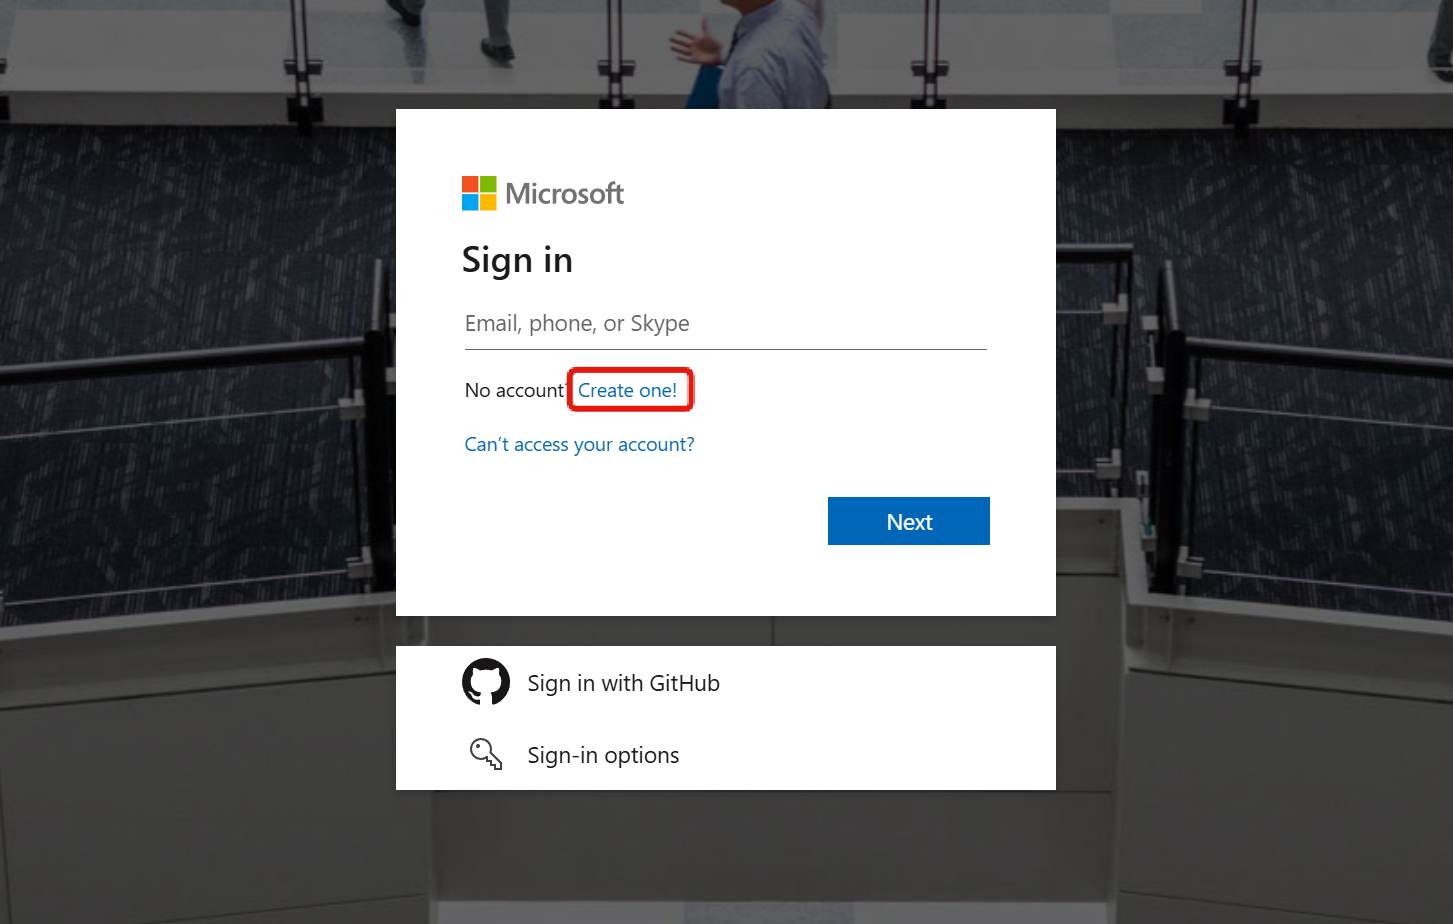
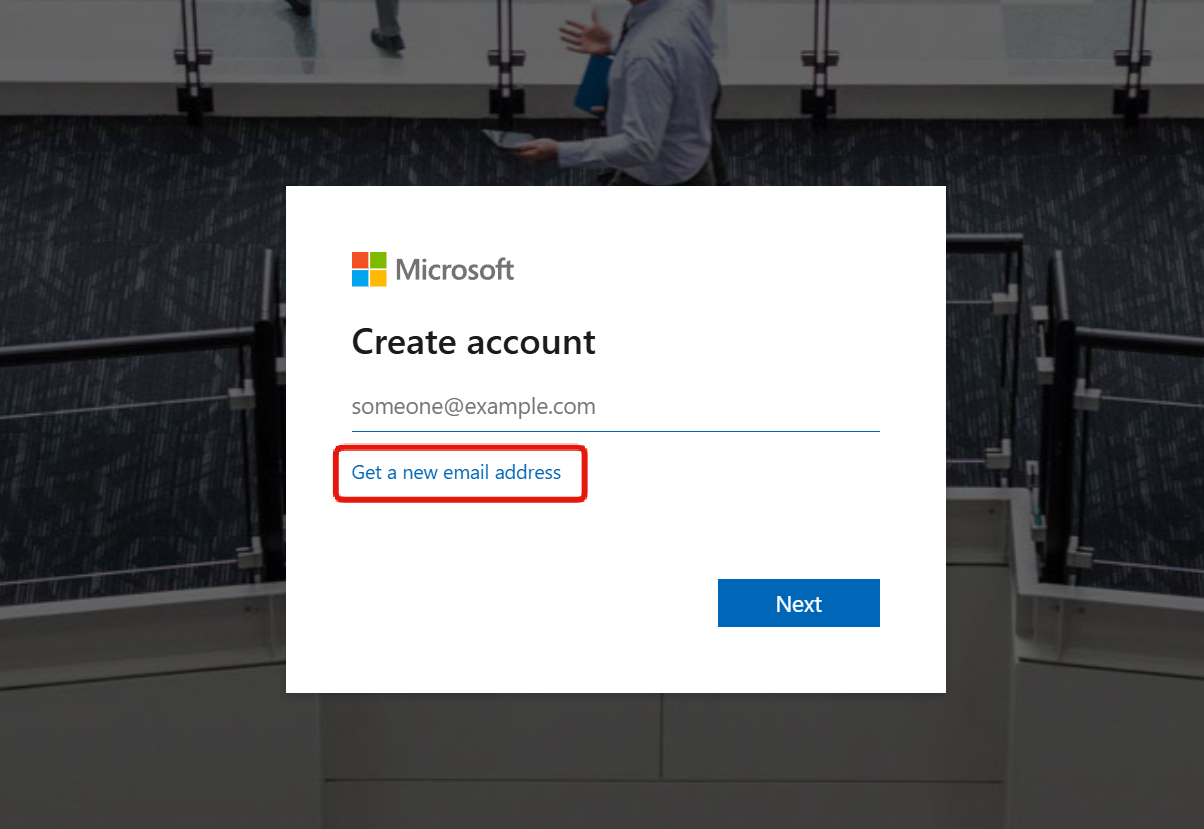
On the account creation screen, you can enter your e-mail address and register it as a Microsoft account (*), but here we will explain how to “Get a new email address”.
(*) Since Microsoft accounts are basically for personal use, it is safer not to use a company email address.
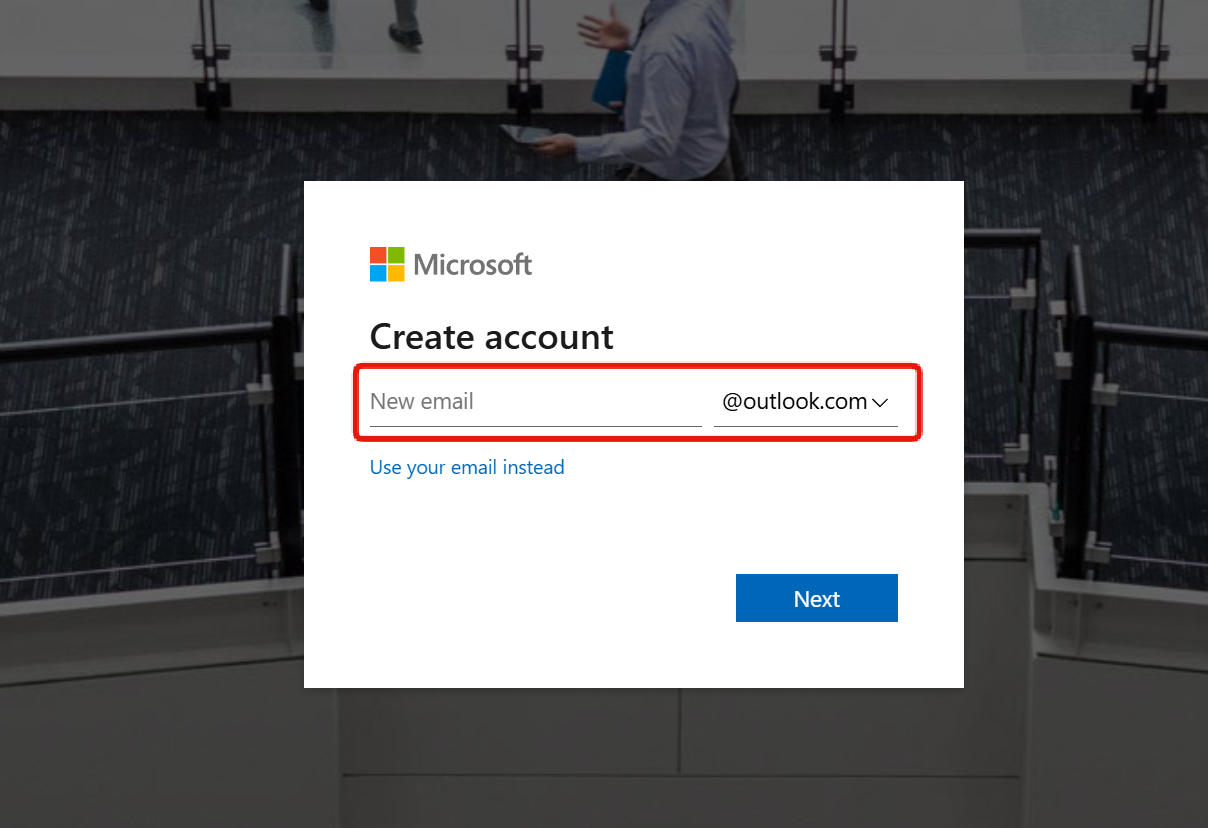
You can select the domain part after @ from the pull-down menu, so please select the one you want. If you can enter the part before @, you can go to the next step.
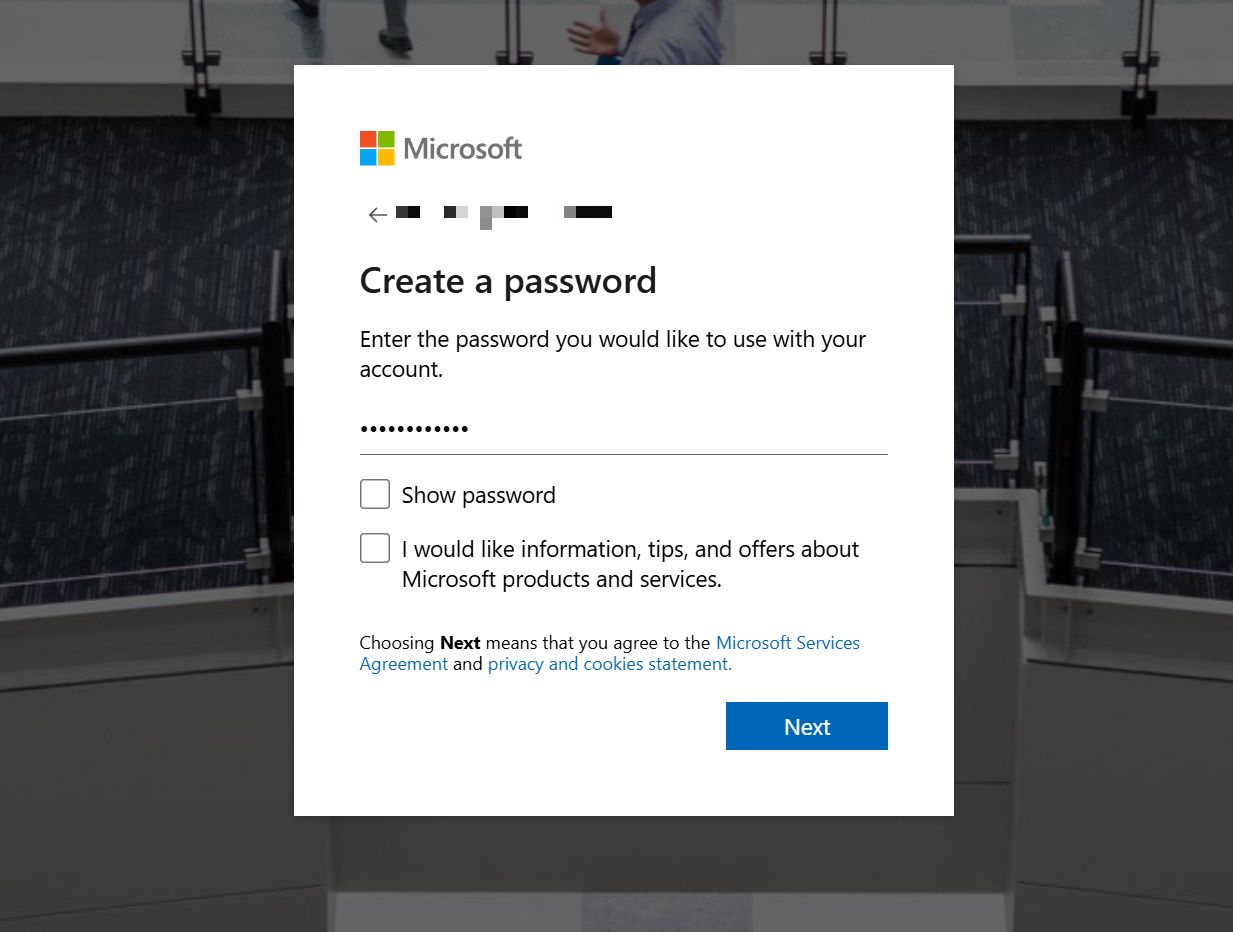
 Next, enter your password and continue.
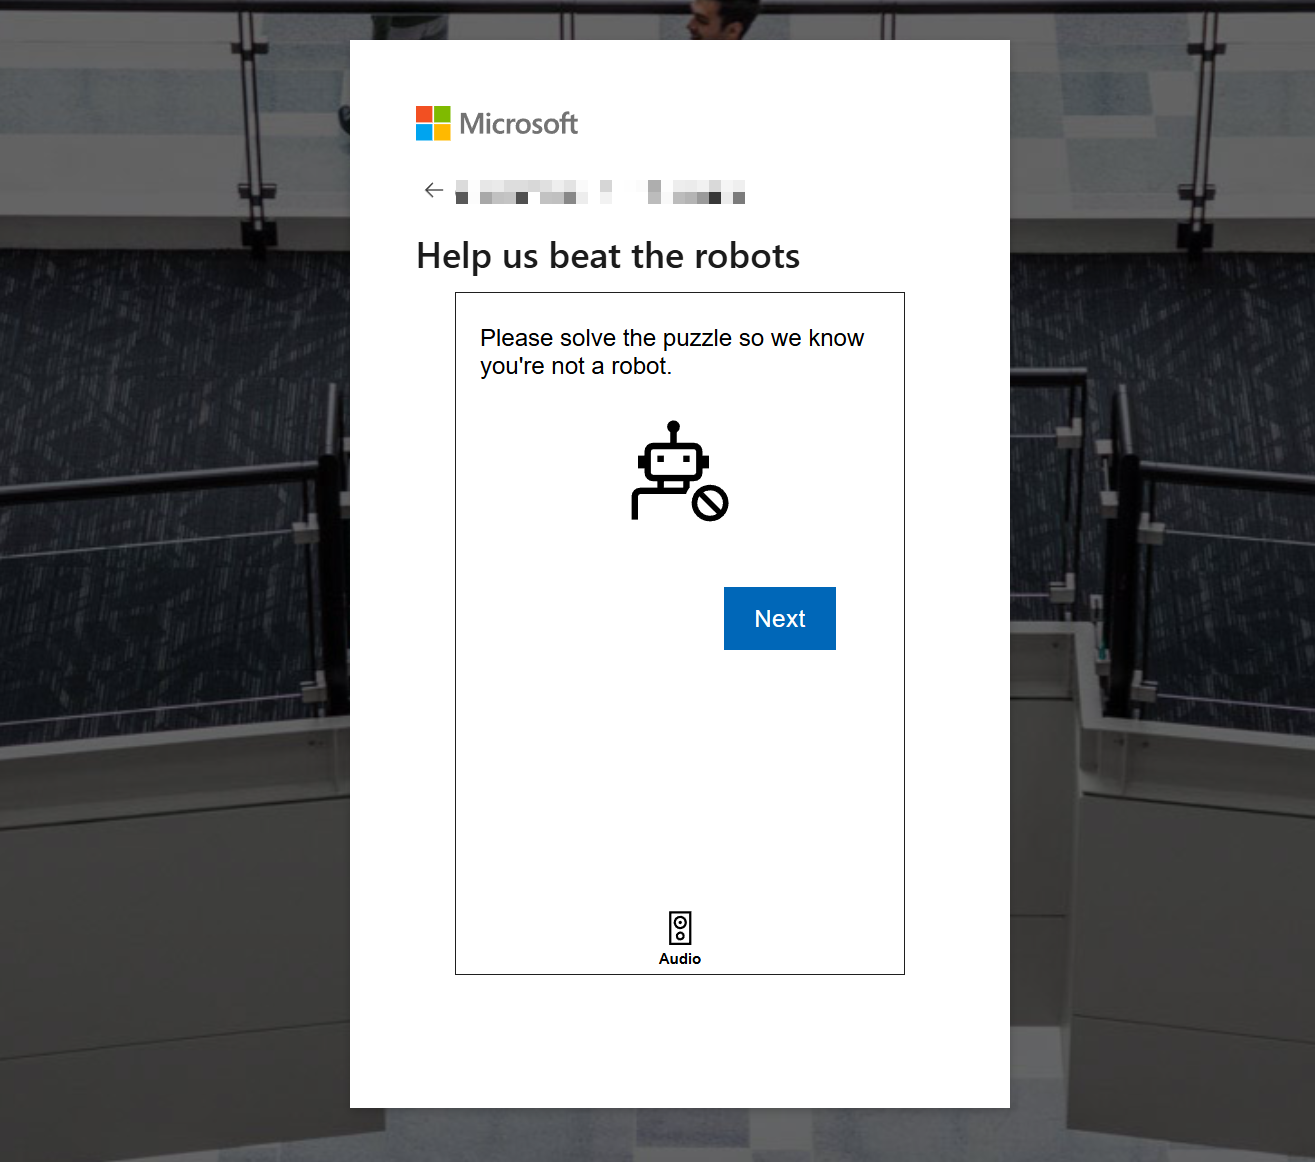
You will then be asked to confirm that you are not a robot, so please follow the instructions on the screen.
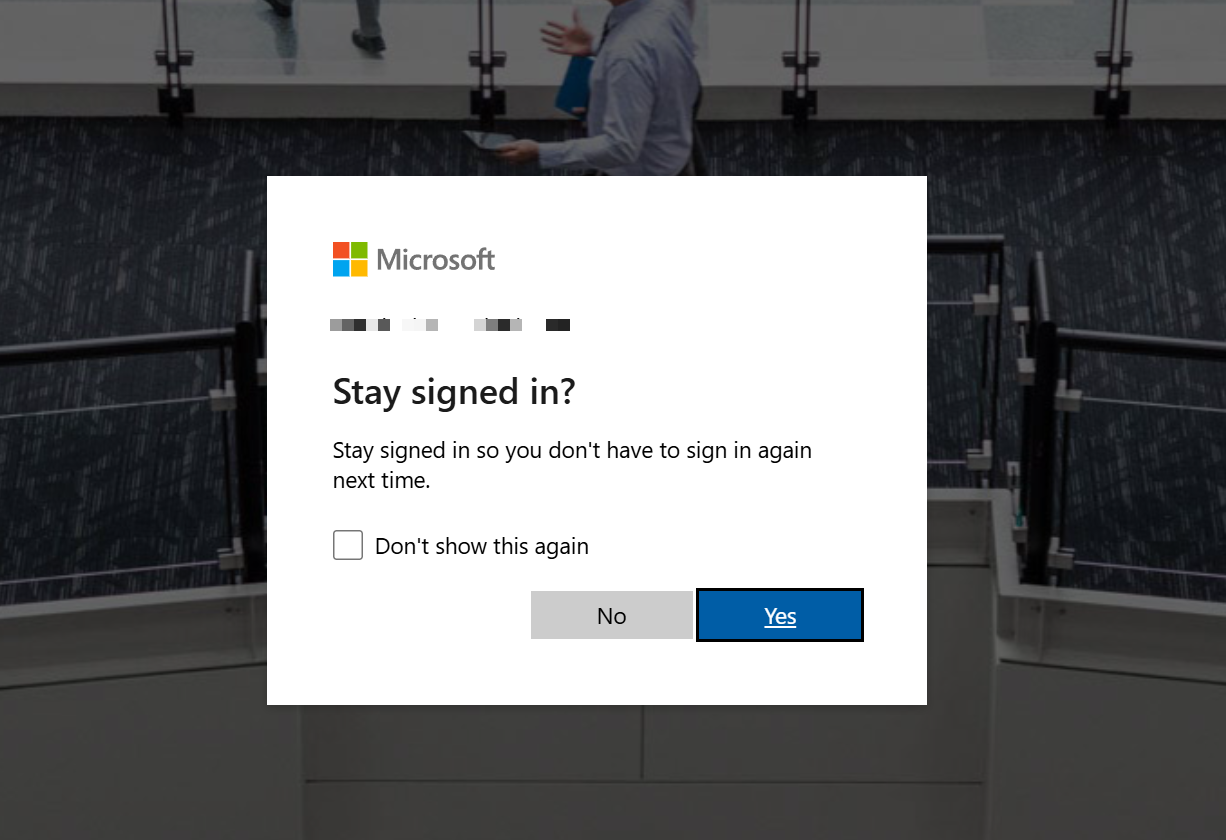
You may be asked “Stay signed in?” during the sign-in process. This is up to you, so if you want to remember your username and password, click “Yes” to continue. (You will be able to skip entering your username and password for a period of time.)
You have created a Microsoft account.
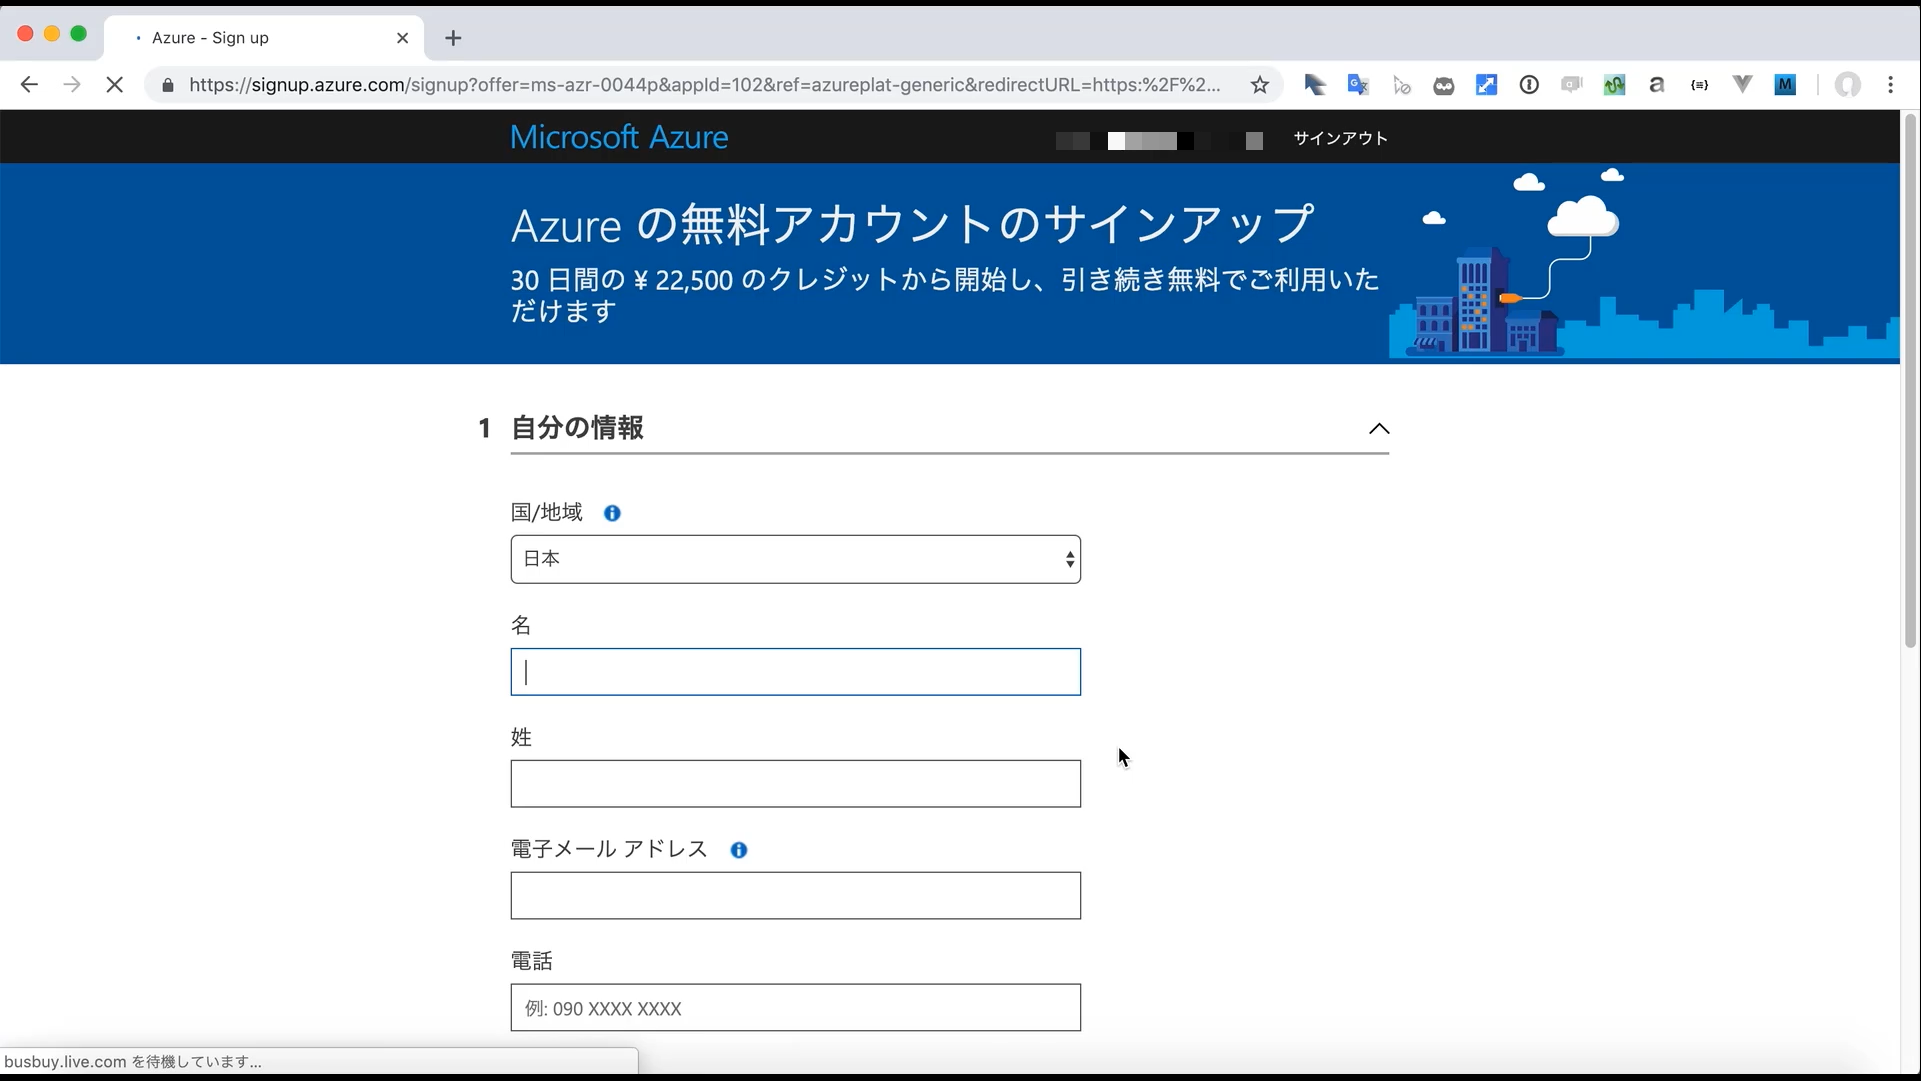
The next step is to sign up for a free account.
First, you will be taken to a screen where you can enter your personal information, so please enter your name, e-mail address, phone number, and so on, and continue.
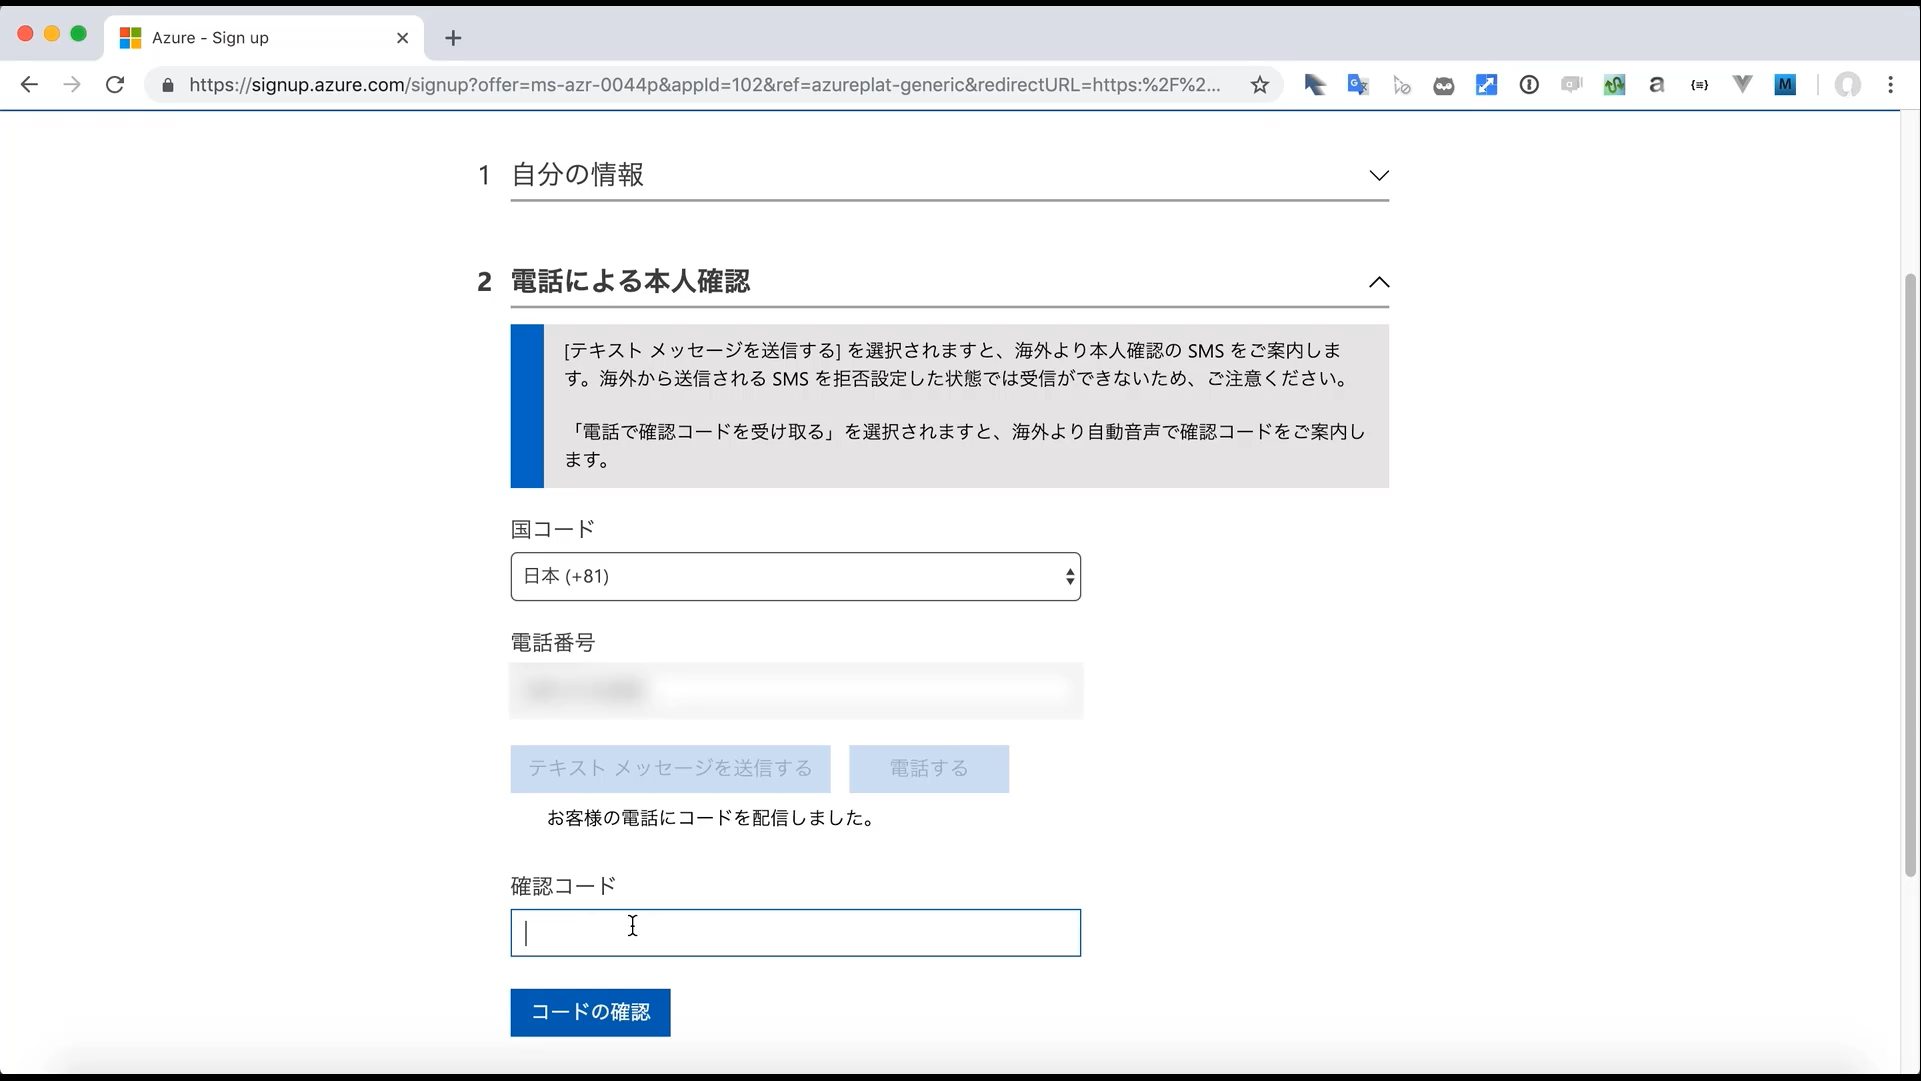
Next, you will see a screen that says “Identity verification by phone”. You can choose to send a text message or have someone call you.
If you enter your phone number and press “Text me”, a short message will be sent to your cell phone, so please enter the confirmation code you receive and continue.
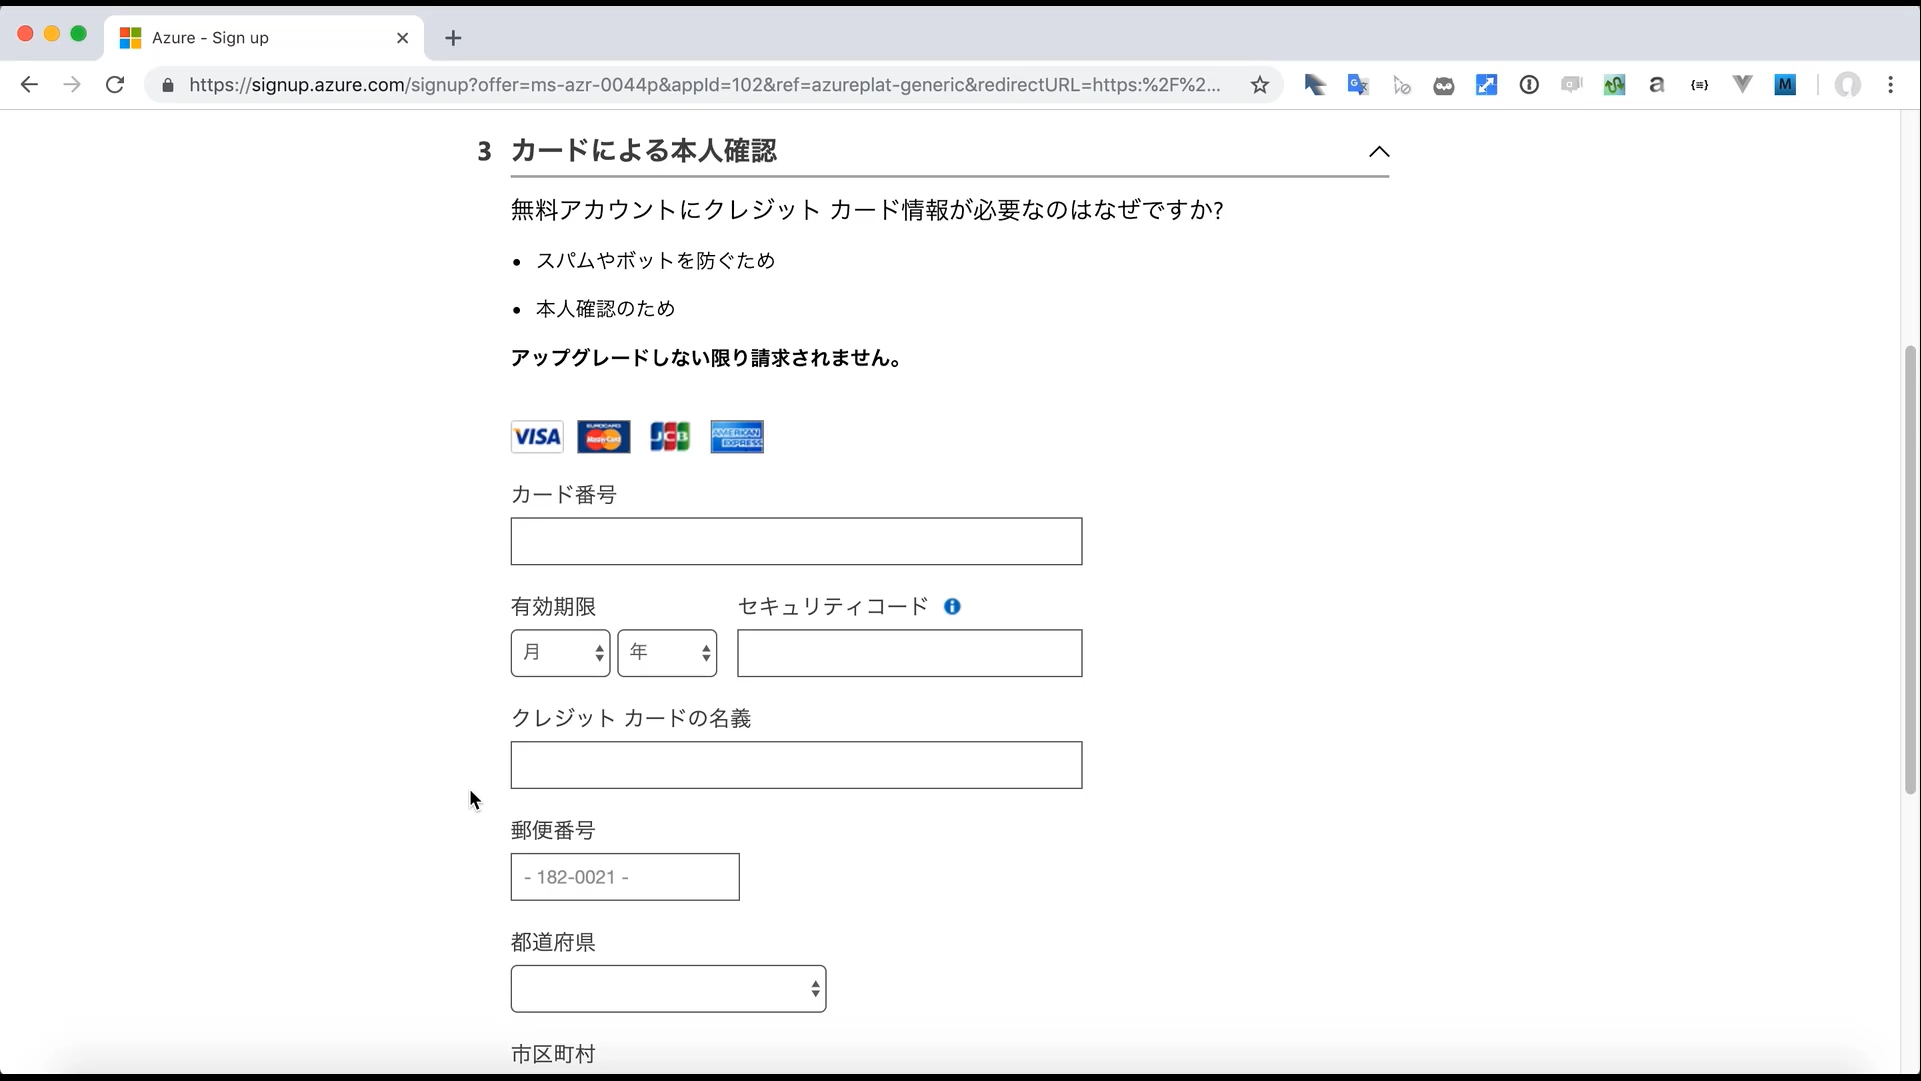
Next, enter your credit card information.
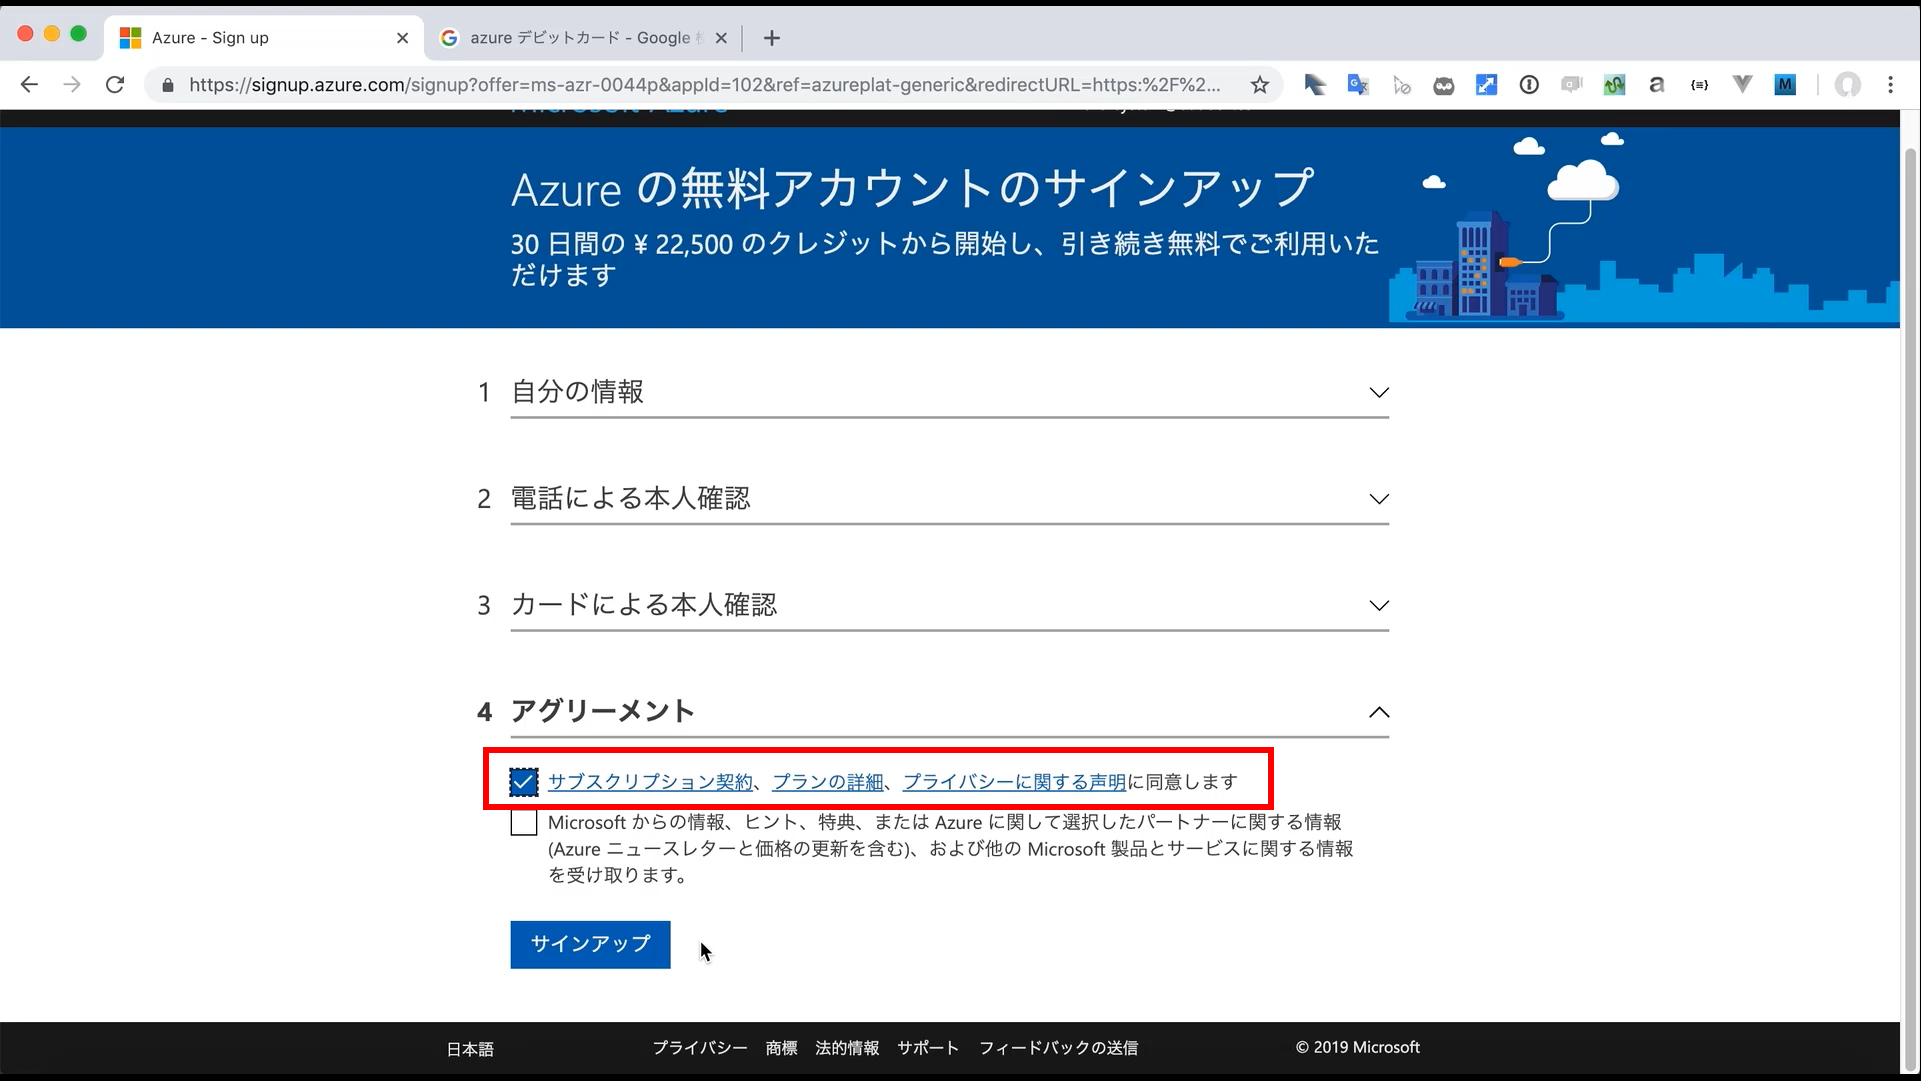
Finally, you will see a screen confirming the contents of the agreement.
If you have reviewed all of the linked content and there are no problems, please check the box above to complete the registration process. (If you would like to receive notifications, please also check the box below.
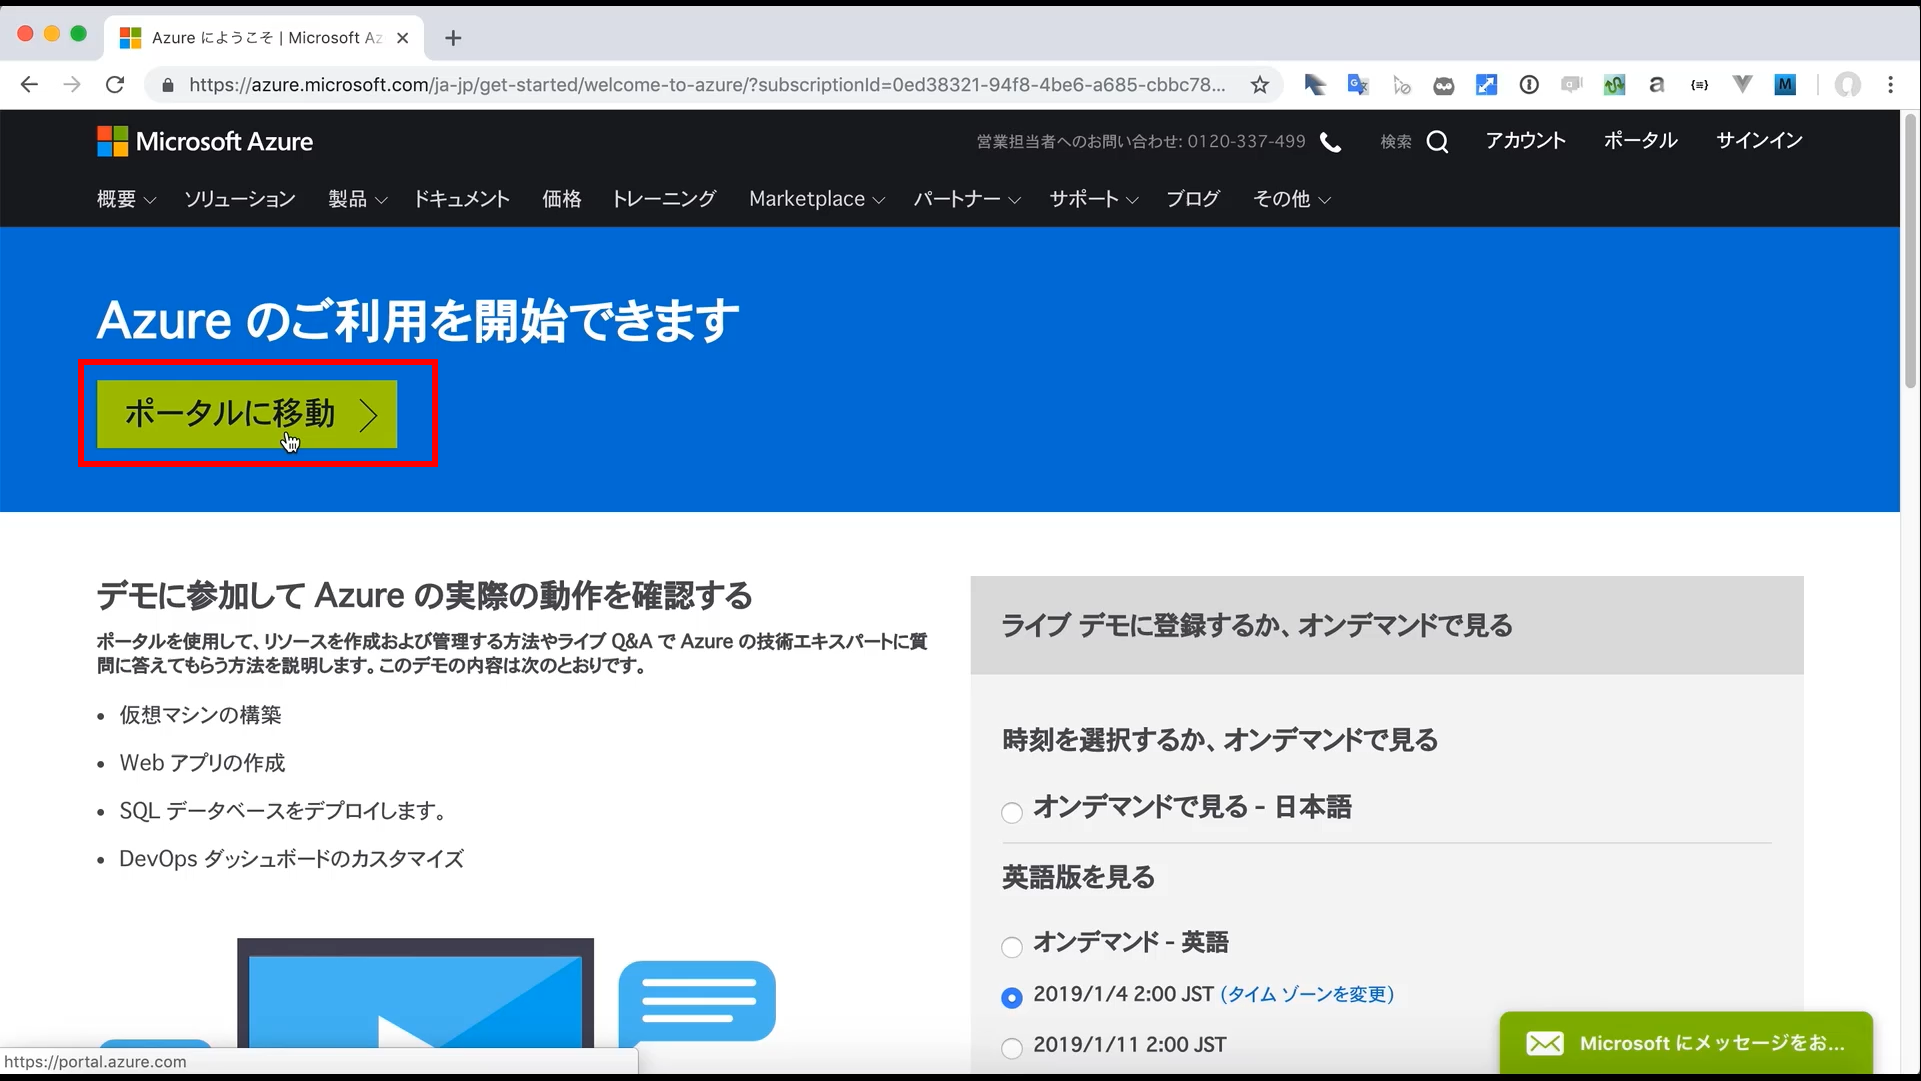
This completes your free account registration.
Let’s open the Azure Portal by clicking the “Go to Portal” button.
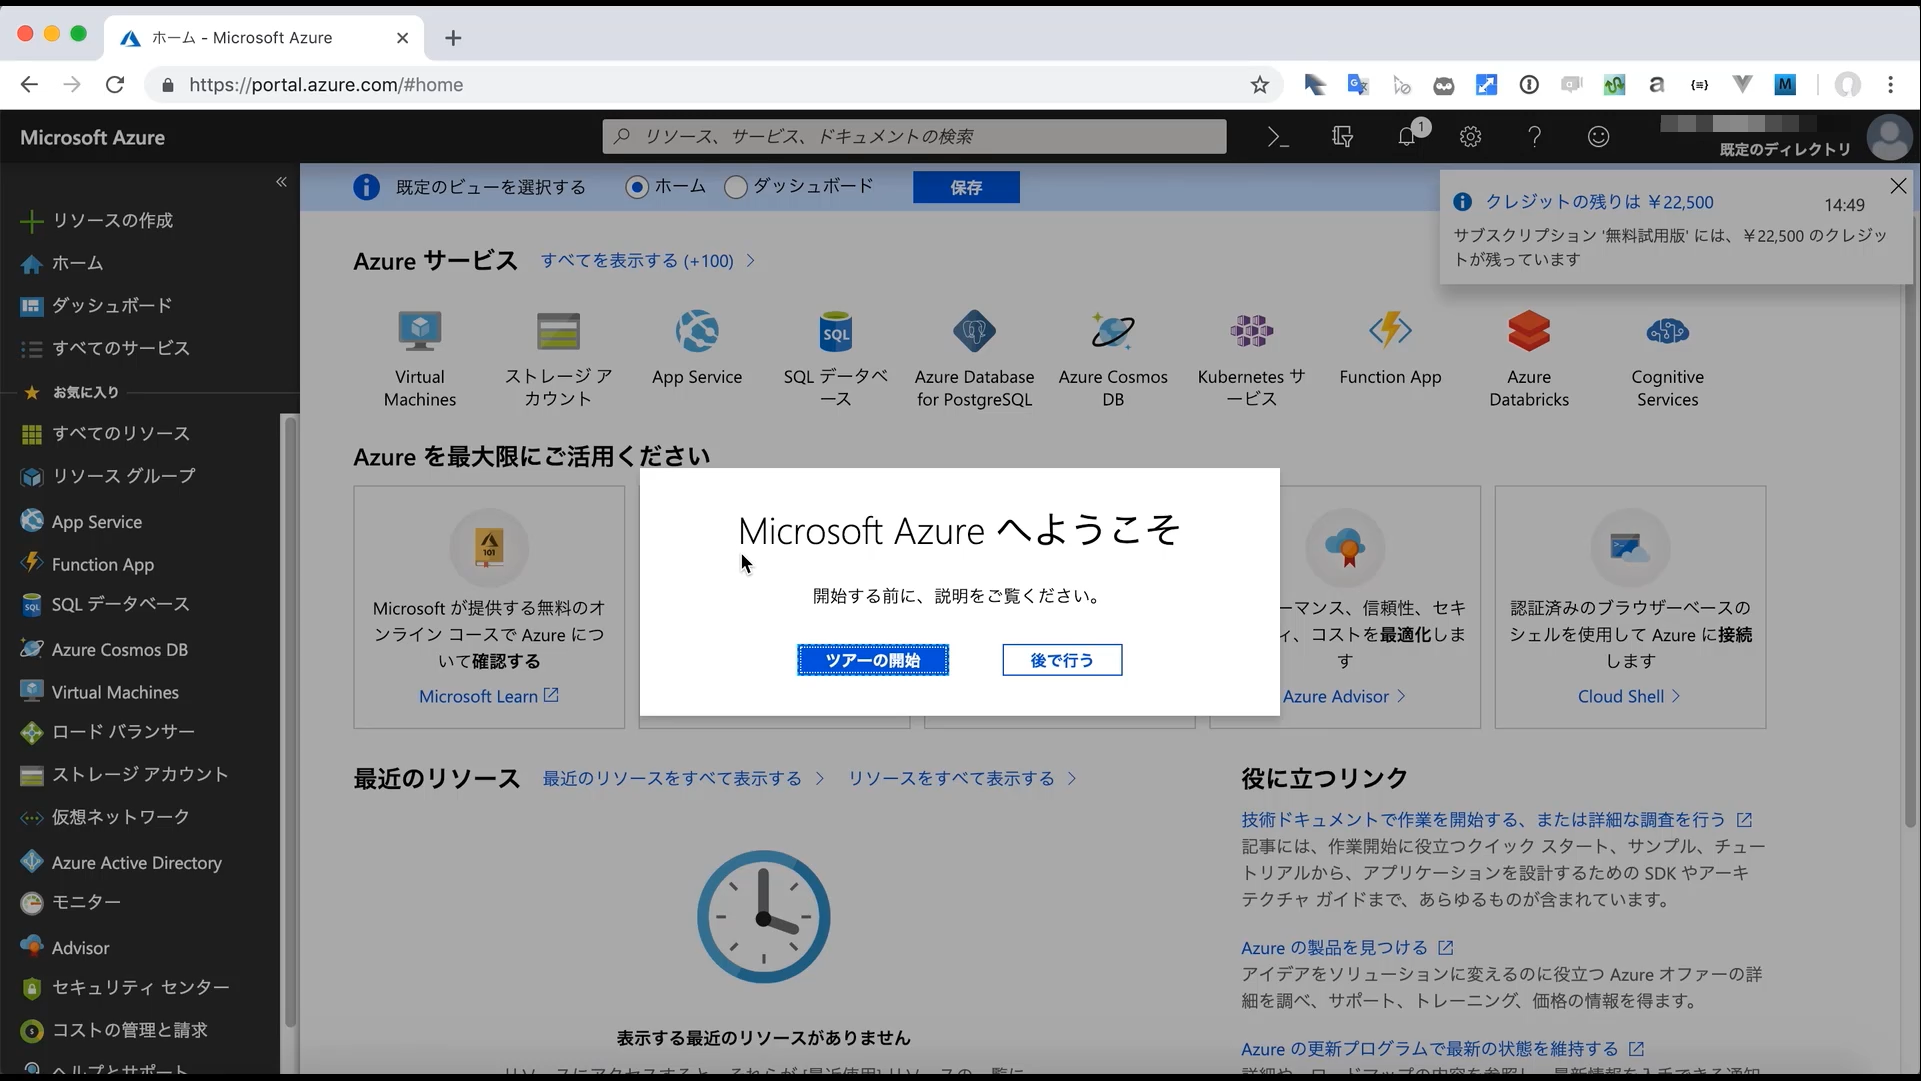
When you sign in to Azure Portal, the first thing you see is the Welcome screen.
If you click Start Tour, you’ll see an explanation of how to use Azure Portal, so it’s a good idea to check that out first.
What you need to know about free accounts
First, the points that may be tested in the AZ-900 exam are as follows.
Key Points:
- Free accounts can only be used once per person.
- There is a 30-day time limit.
- You can use all Azure services (not limited to specific services)
- After the trial period expires, you will no longer be able to use the Azure resources you have created (such as starting virtual machines, etc.)
I don’t think this will be asked on the exam, but here are some general points to keep in mind when using a free
account. These are more important when you are actually learning by using Azure.
Notes:
- Use your credits in a planned way
- Maximum number of vCPU cores for virtual machines
- Regional restrictions
We will explain each of these in detail.
Use credit wisely
The idea is that since you’ve been given a $200 credit, you should make good use of it.
With $200, you should be able to try out all the commonly used resources, such as virtual machines, storage, and SQL Database (*). It’s a good idea to start using the free account at a time when you think you’ll have some time to try things out, while avoiding high-spec sizes that are more than you need and services that are expensive to begin with.
* SQL Database has a high default size (service tier), so it is dangerous to create it with the default settings without thinking about it. Even if it’s in the free range, don’t forget to be cost-conscious.
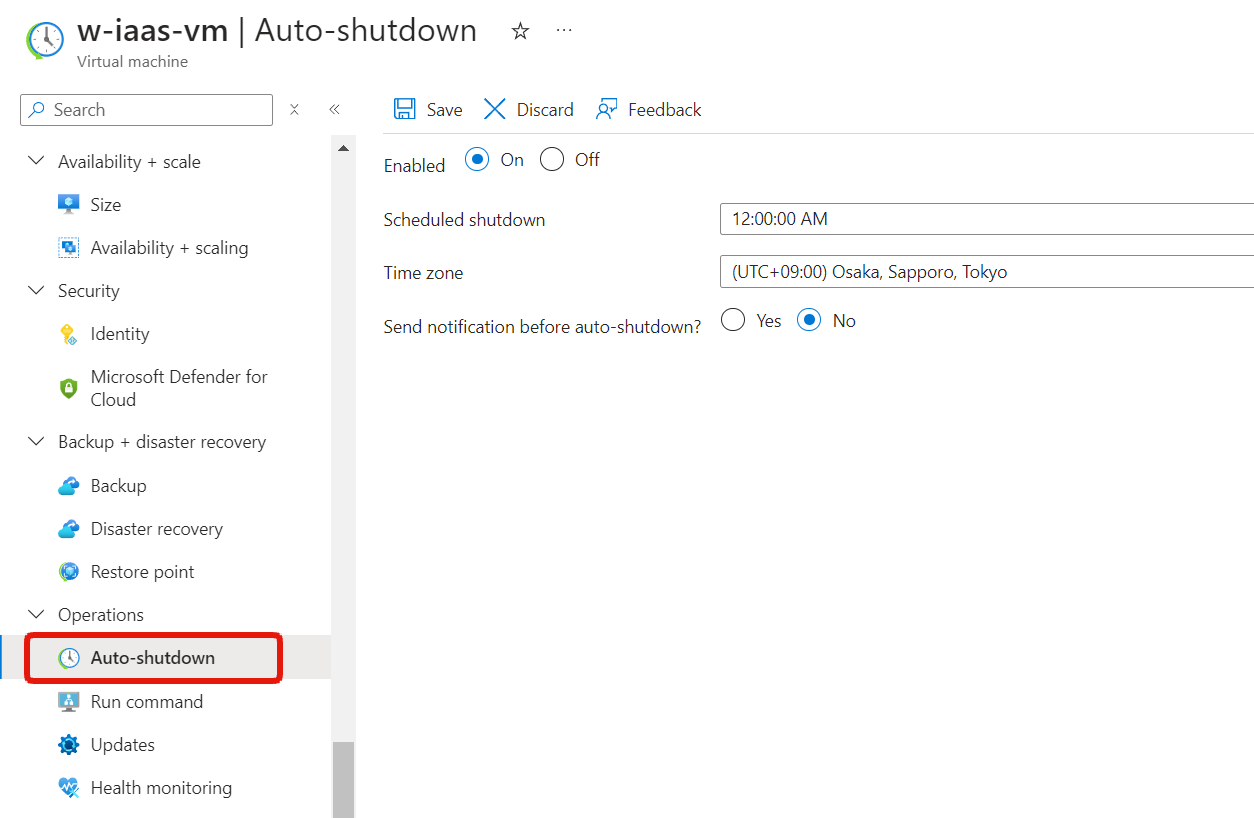
Even if you create a server with a slightly high specification and high cost, you can avoid large expenses by deleting it immediately after learning, or by stopping it frequently if it is a virtual machine. Virtual machines also have a default“Auto-shutdown” feature, so make good use of it.
Maximum number of vCPU cores for virtual machines
I think the first thing you will come into contact with when you start using Azure is the “virtual machine”, which provides virtual server functionality.
When you create a virtual machine, you select a combination of vCPU and memory in “catalog format”, but for free accounts, the total limit for the number of vCPU cores is “4”. *It is not clear if this is still the same specification.
For example, for B-Series virtual machines, there are the following types and sizes.
| Size | vCPU |
|---|---|
| B1s | 1 |
| B2s | 2 |
| B4ms | 4 |
The following combinations of up to four wires are acceptable.
- B1s × 4
- B2s × 2
- B1s × 2 and B2s × 1
- B4ms × 1
If you try to create a virtual machine that exceeds the limit, an error will occur.
This is a limitation of the free account. In the pay-as-you-go plan, the default limit (quota) is “20”.
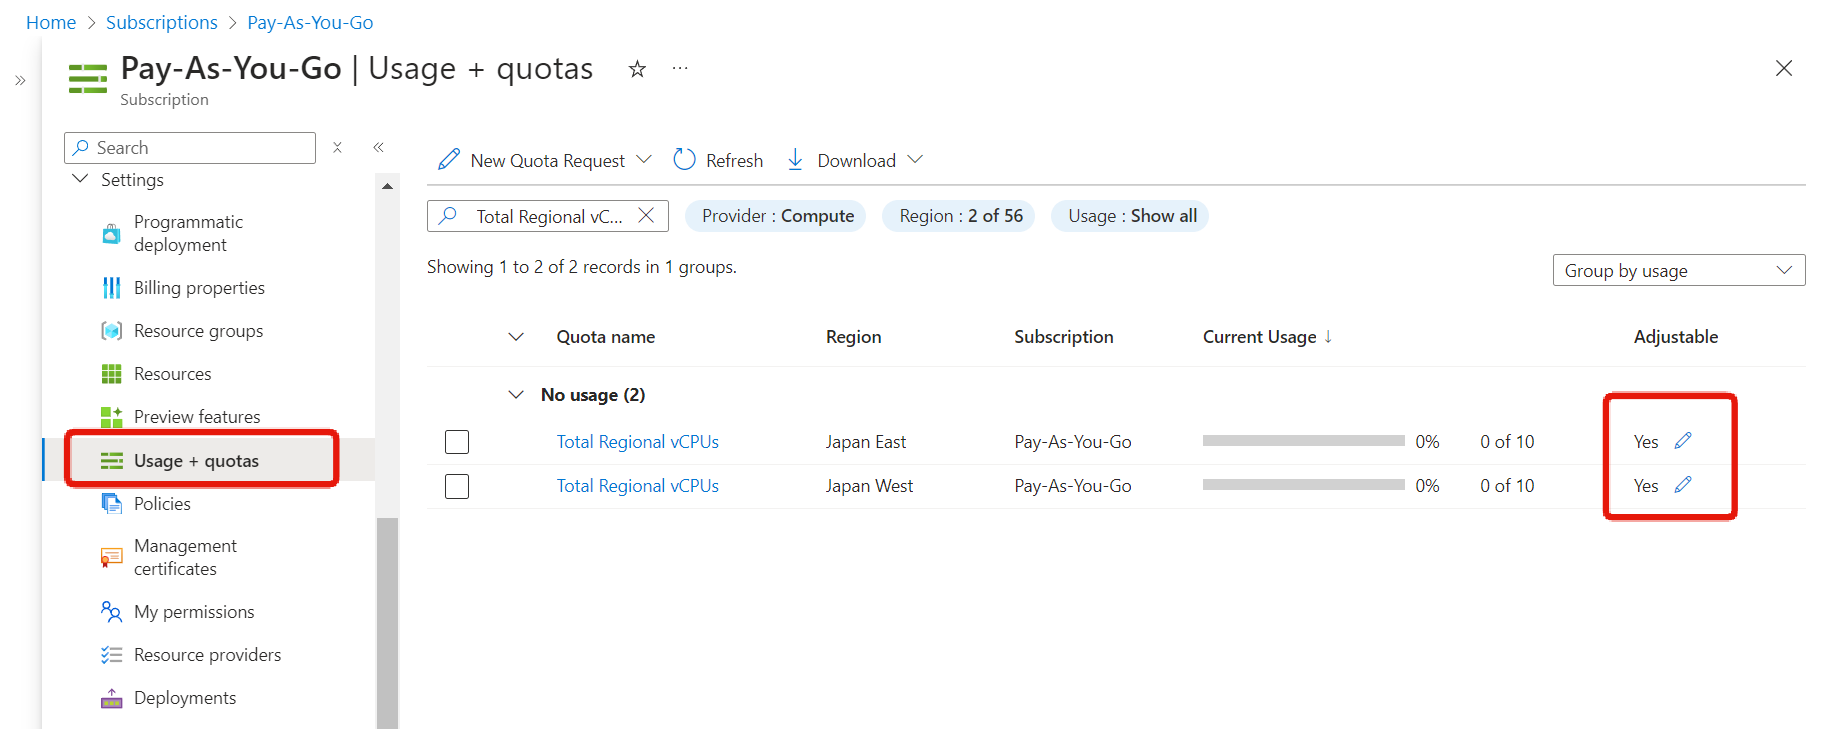
On the Subscription → Usage + quotas screen, you can check the current limit by searching for “Total Regioanl vCPUs” (for some reason, it was 10 in my environment).
You can also request an increase by clicking the pencil icon on the far right. I don’t know if a free account will accept a bump, but it might be worth a try if you need it.
Regional restrictions
This is similar to the vCPU core limit issue, but sometimes free accounts do not allow you to create resources in certain regions. I haven’t experienced this myself, but the following two are the most common questions I get from Udemy students:
- You can’t select certain sizes of virtual machines, such as the B-Series (they’re grayed out).
- You can’t create SQL databases (it says you don’t have permissions to create a server in the selected region).
This is probably because there are restrictions on the use of free accounts, for example, because there are not enough computing resources pooled in this region.
In either case, changing the region should resolve the issue. If the size of the virtual machine you are creating is sufficient, you do not need to change the region.
- Change to the other region in the Japan East or Japan West region.
- Change to a region other than Japan.
Summary
In this article, we have explained how to create a free account and some things to keep in mind. We believe that using a free account is very beneficial for those who are just starting to learn about Azure.
In some cases, it may be easier to understand if you actually use the Azure portal and look at the screen while getting an overview, so please refer to the points and notes we have introduced here as you continue your studies!
See you next time.
- To take the AZ-900 exam / use Azure, you need a Microsoft account.
- Azure free accounts come with a $200 credit that can be used within 30 days.
- The trial period ends after 30 days or when you use up your $200 credit.
- Azure free accounts can only be used once by one person.
- Some features may be limited on free accounts.